Saturday, October 14, 2006

The 1000 Journals Project Film


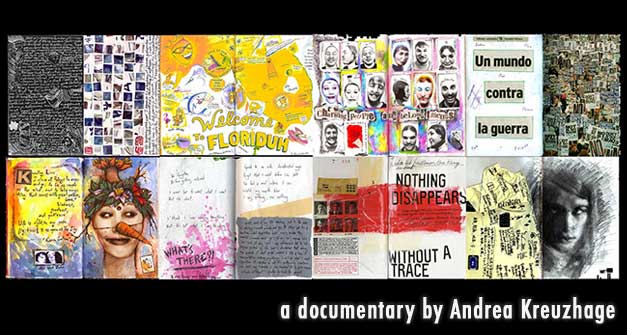
One thousand blank journals are traveling from hand to hand throughout the world. People who find a journal read it, add to it, then pass it on...

Starting in December 2003, the production crew for the 1000 Journals Project documentary film contacted nearly 500 past, present and wait-listed journal contributors from around the world for pre-interviews via email, telephone, and in person, eventually selecting about 120 participants for filmed interviews. The filming took the crew to Europe (France, Germany, Spain, Italy, Croatia, Finland and the United Kingdom), Australia, Singapore, China, Canada and the United States. At the conclusion of postproduction editing, expected by December 2006, the film will be submitted to film festivals around the world for viewing on a big screen in 2007. View the teaser clip.

Tuesday, October 10, 2006

Peter Callesen: Paper Cut Sculpture


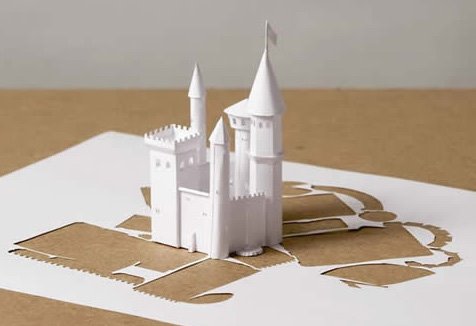
Recently, a friend emailed me about this artist and he is so phenomenal that I want to share him. Peter Callesen is a sculptor who works in paper, transforming a flat sheet (mostly single sheets of 80g. A4 paper, the kind sitting next to your computer printer) into a 3D form, leaving behind the negative space from which the form is created. Some of the the paper cuts relate to fairy tales, while others, Callesen states, “are small dramas in which small figures are lost within and threaten by the huge powerful nature … the thin white paper gives the paper sculptures a fragility which underlines the tragic and romantic theme of the works.

While his work is not specifically book-related, what strikes me when I look at it, is the connection I feel it has to popup books, origami, and silhouette paper cutting, many traditions rolled into one, any of which could be used by creative book artists in their work.

Big Paper Castle, 2004, 7,20 x 7,15 x 3,75 m
Cut and folded from one sheet of 350 gsm paper

Peter Callesen (b. 1968) lives and works in Copenhagen.

Saturday, October 07, 2006

Flexagons: Intro & Tetraflexagons, Part 1


My goal for this blog is to post at least one or two topics a week but sometimes life gets in the way. I spent a few weeks in August and September researching flexagons in order to put together the first of a two-part demonstration and workshop for my local bookarts study group. While flexagons are fun to play with as toys, they offer an unusual structure that can be used for text or images that mysteriously appear and disappear as their “pages” are turned.

To begin, flexagons are flat models made from folded strips of paper that can be flexed to reveal a number of hidden faces. There are two types of flexagons, flat and 3-dimensional. In this post I will be talking about the flat type.
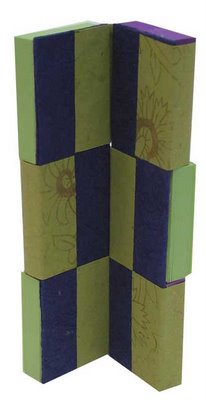
In the flat group there are two types: four-sided (tetraflexagons) which are rectangular, usually square, in shape, and six-sided (hexaflexagons) which look like hexagons (these will be covered in another post). Depending on the template used and the folding pattern, flexagons can have three, four, five, six or more faces. Appropriate prefixes are added in front of the basic name to indicated how many faces. So, tetraflexagons become tri-tetraflexagons (3 faces), tetra-tetraflexagons (4 faces), penta-tetraflexagons (5 faces) and hexa-tetraflexagons (6 faces). Likewise, hexaflexagons become tri-hexaflexagons (3 faces), tetra-hexaflexagons (4-sided), etcetera.

As if the names weren’t confusing enough, a tetra-tetra-flexagon has several entirely different templates and folding patterns, so the name itself doesn’t tell us much about what type of flexagon it is, only that it has four sides and four faces. The most popular is based on the principle behind the 2000-year old Chinese toy called a Jacob’s Ladder and is sometimes called a magic book. Each face can have a different image or text that is revealed as one flexes the structure. Here is an article on how to make one.

This is a big topic, one which cannot be adequately covered in a few postings. If you get hooked, don’t be surprised if you find yourself spending hours of enjoyment (and sometimes frustration) as you try out the various structures and plot how to design on them.

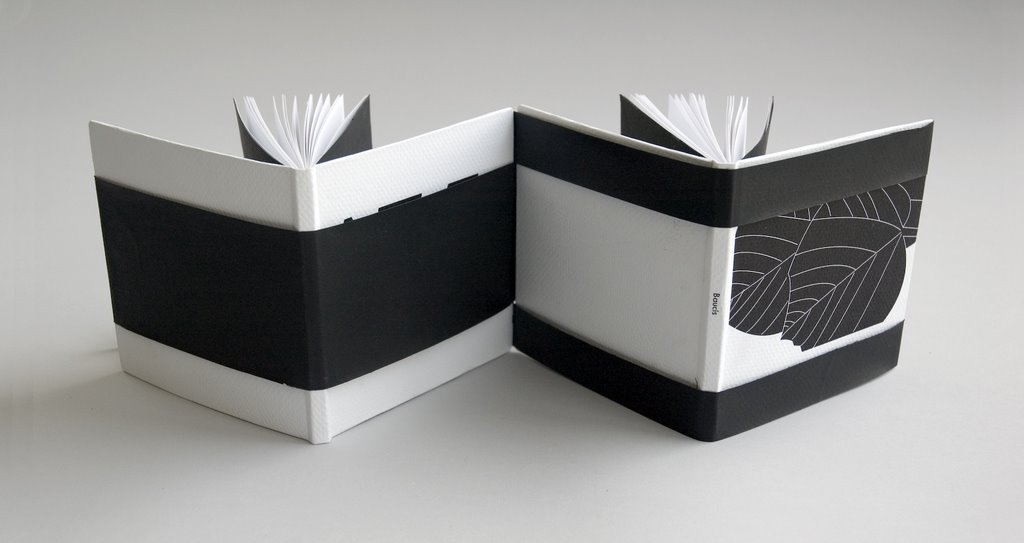
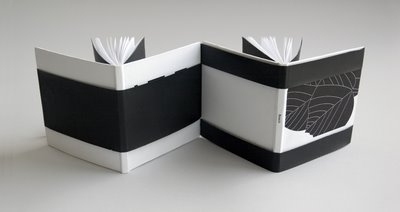
Book credits (variations on Jacob's Ladder/Magic Book structure):
1st book, Jane Cheng, Baucis and Philemon (Ovid Met. 8.611-724) trans by artist
2nd book, c. j. grossman, Magic Book with Secret Panels
Monday, September 11, 2006

Invisible Artwork: Fore-Edge Painting


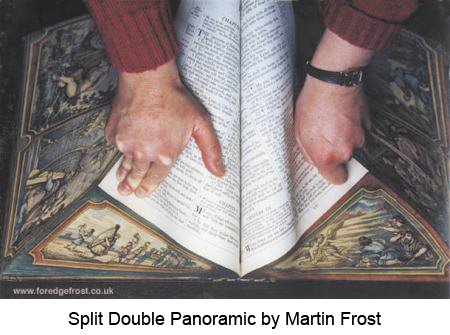
Fore-edge paintings are watercolor decorations, painted on the ends of the pages of the fore-edge of a book. In most cases, a fore-edge painting is only visible when the pages are fanned out.

According to Wikipedia, the earliest fore-edge paintings date possibly as far back as the 10th century and were symbolic designs. The first known example of a disappearing fore-edge painting (where the painting is not visible when the book is closed) dates from 1649. Around 1750 the subject matter of fore-edge paintings changed from simply decorative or heraldic designs to landscapes, portraits, and religious scenes, first in monochrome and then later in full color. In many cases, the chosen depiction related to the subject of the book, but in other cases it did not.

The technique involved fanning the fore-edge of the text block (the outer edge) and clamping it. Then, a watercolor painting would be executed on the fanned leaves. When dry, the fore-edge would most commonly be gilt, less commonly marbled. thus concealing the existence of the painting until the fore-edge was fanned.

In addition to the standard painting, sometimes known as a single, there are several variations:
  • split … each half of the fore-edge bears a different painting.
  • double … shows an illustration when the fore-edge is fanned out the usual way, and a completely different painting when the pages are fanned out in the opposite direction.
  • triple ... in addition to paintings on the edges, a third painting is applied directly to the edges (in lieu of gilt or marbling).
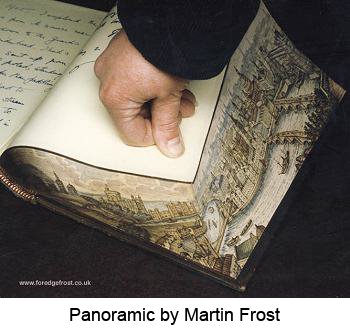
  • panoramic … the illustration covers not only the fore-edge but the top and bottom edges of the book as well.
One practitioner, Martin Frost, whose work is pictured here, has produced well over 3000 fore-edge and miniature paintings since 1970. His site has a video of the fanning process. This site has some examples done by students in one of his workshops.

Saturday, September 09, 2006

Parts of the Book

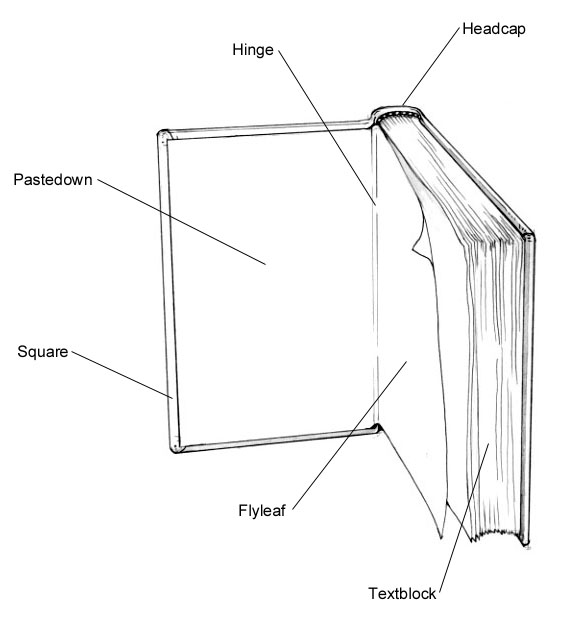
Whether binding traditionally or making artist books, the parts of the book are something we all should know. This site has nice drawings. Here is another site which has photographs.


Thursday, September 07, 2006

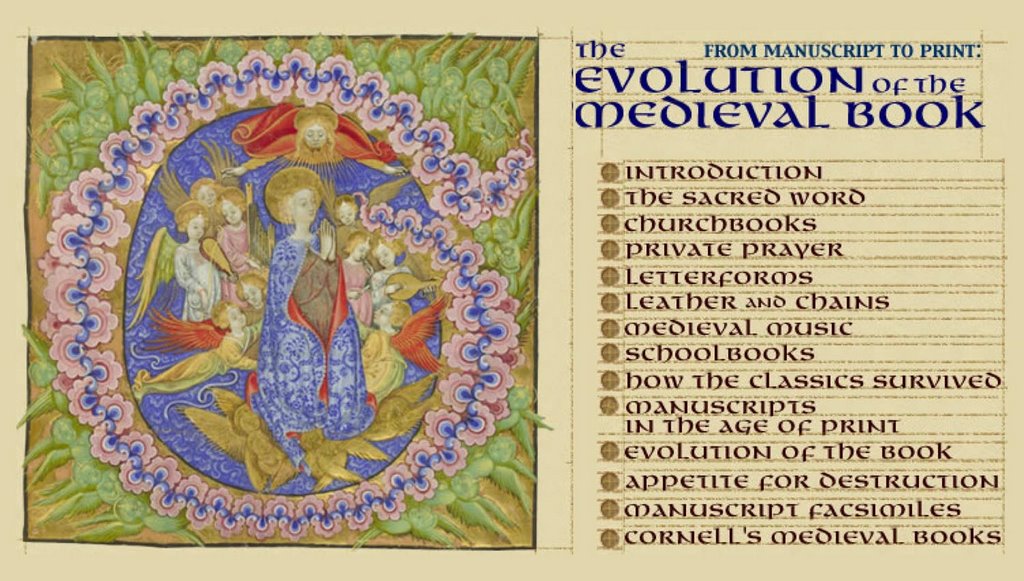
Exhibit: The Evolution of the Medieval Book


tudy of the manuscript book as a physical object is known as codicology – from codex, a Latin word for "book," especially one whose pages can be turned, as distinguished from a scroll. Codicology is concerned with writing surfaces (parchment and paper) as well as the covers, stitching, etc. that make up a binding.

The Evolution of the Medieval Book traces the history of the medieval book–its appearance, content, audiences, and forms–from the 9th to the 15th centuries.

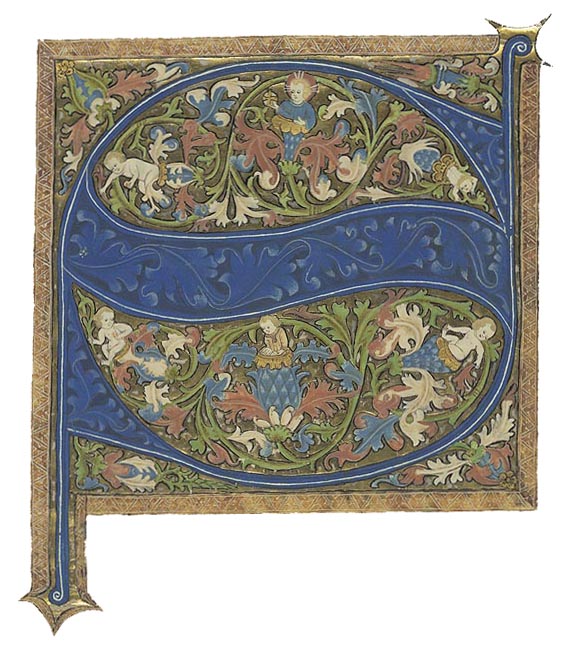
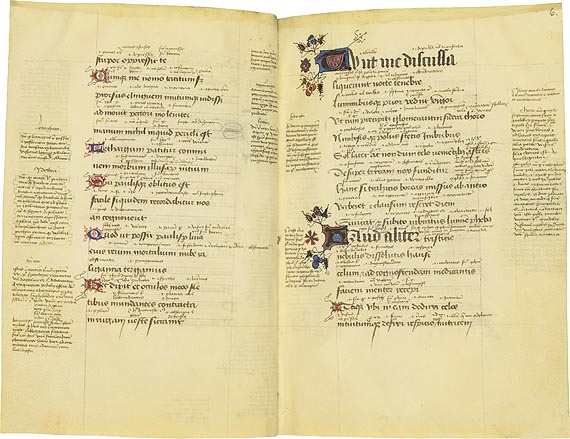
Looking at these old books with their beautiful illustrations (illuminations) and text makes me want to take up calligraphy. It is interesting to note that marking up text and making notes on the page is not a modern development.

Sunday, September 03, 2006

Tools: Bone Folders

Although materials like horn, stone and teflon are being used to make them, the classic bone folder is a shaped piece of bone carved from real animal bones, often deer or elk. Bone is an ideal material to use for smoothing, scoring, and creasing paper and cloth because it is sturdy, smooth and grainless. It can also be used for burnishing (polishing and imparting glossiness) and with sufficient (or excessive) pressure its edge is sharp enough to cut paper or cloth.

Many bone folders are carved with ornate handles or other decorative features, but a basic bone folder is typically shaped like a wooden tongue depressor or a large popsicle stick with rounded ends or a pointed end for working in corners.

Basic bone folders can usually be found in hobby and craft stores and online bookbinding supply merchants. More ornate bone folders are harder to find but there is nothing to prevent the owner of a plain bone folder from personalizing it with a little carving of their own.

Links to photos:
Top Photo
Bottom Photo